Install the dbt VS Code extension Preview
The dbt extension — available for VS Code, Cursor, and Windsurf — uses the dbt Fusion Engine to make dbt development smoother and more efficient.
The dbt VS Code extension is only compatible with the dbt Fusion Engine, but not with dbt Core.
This is the only official dbt Labs VS Code extension. Other extensions can work alongside the dbt VS Code extension, but they aren’t tested or supported by dbt Labs. Read the Fusion Diaries for the latest updates.
Prerequisites
Before installing, make sure to review the Limitations page as some features don't support Fusion just yet.
To use the extension, you must meet the following prerequisites:
| Loading table... |
Install the extension
To install the dbt VS Code extension, follow these steps in your editor of choice:
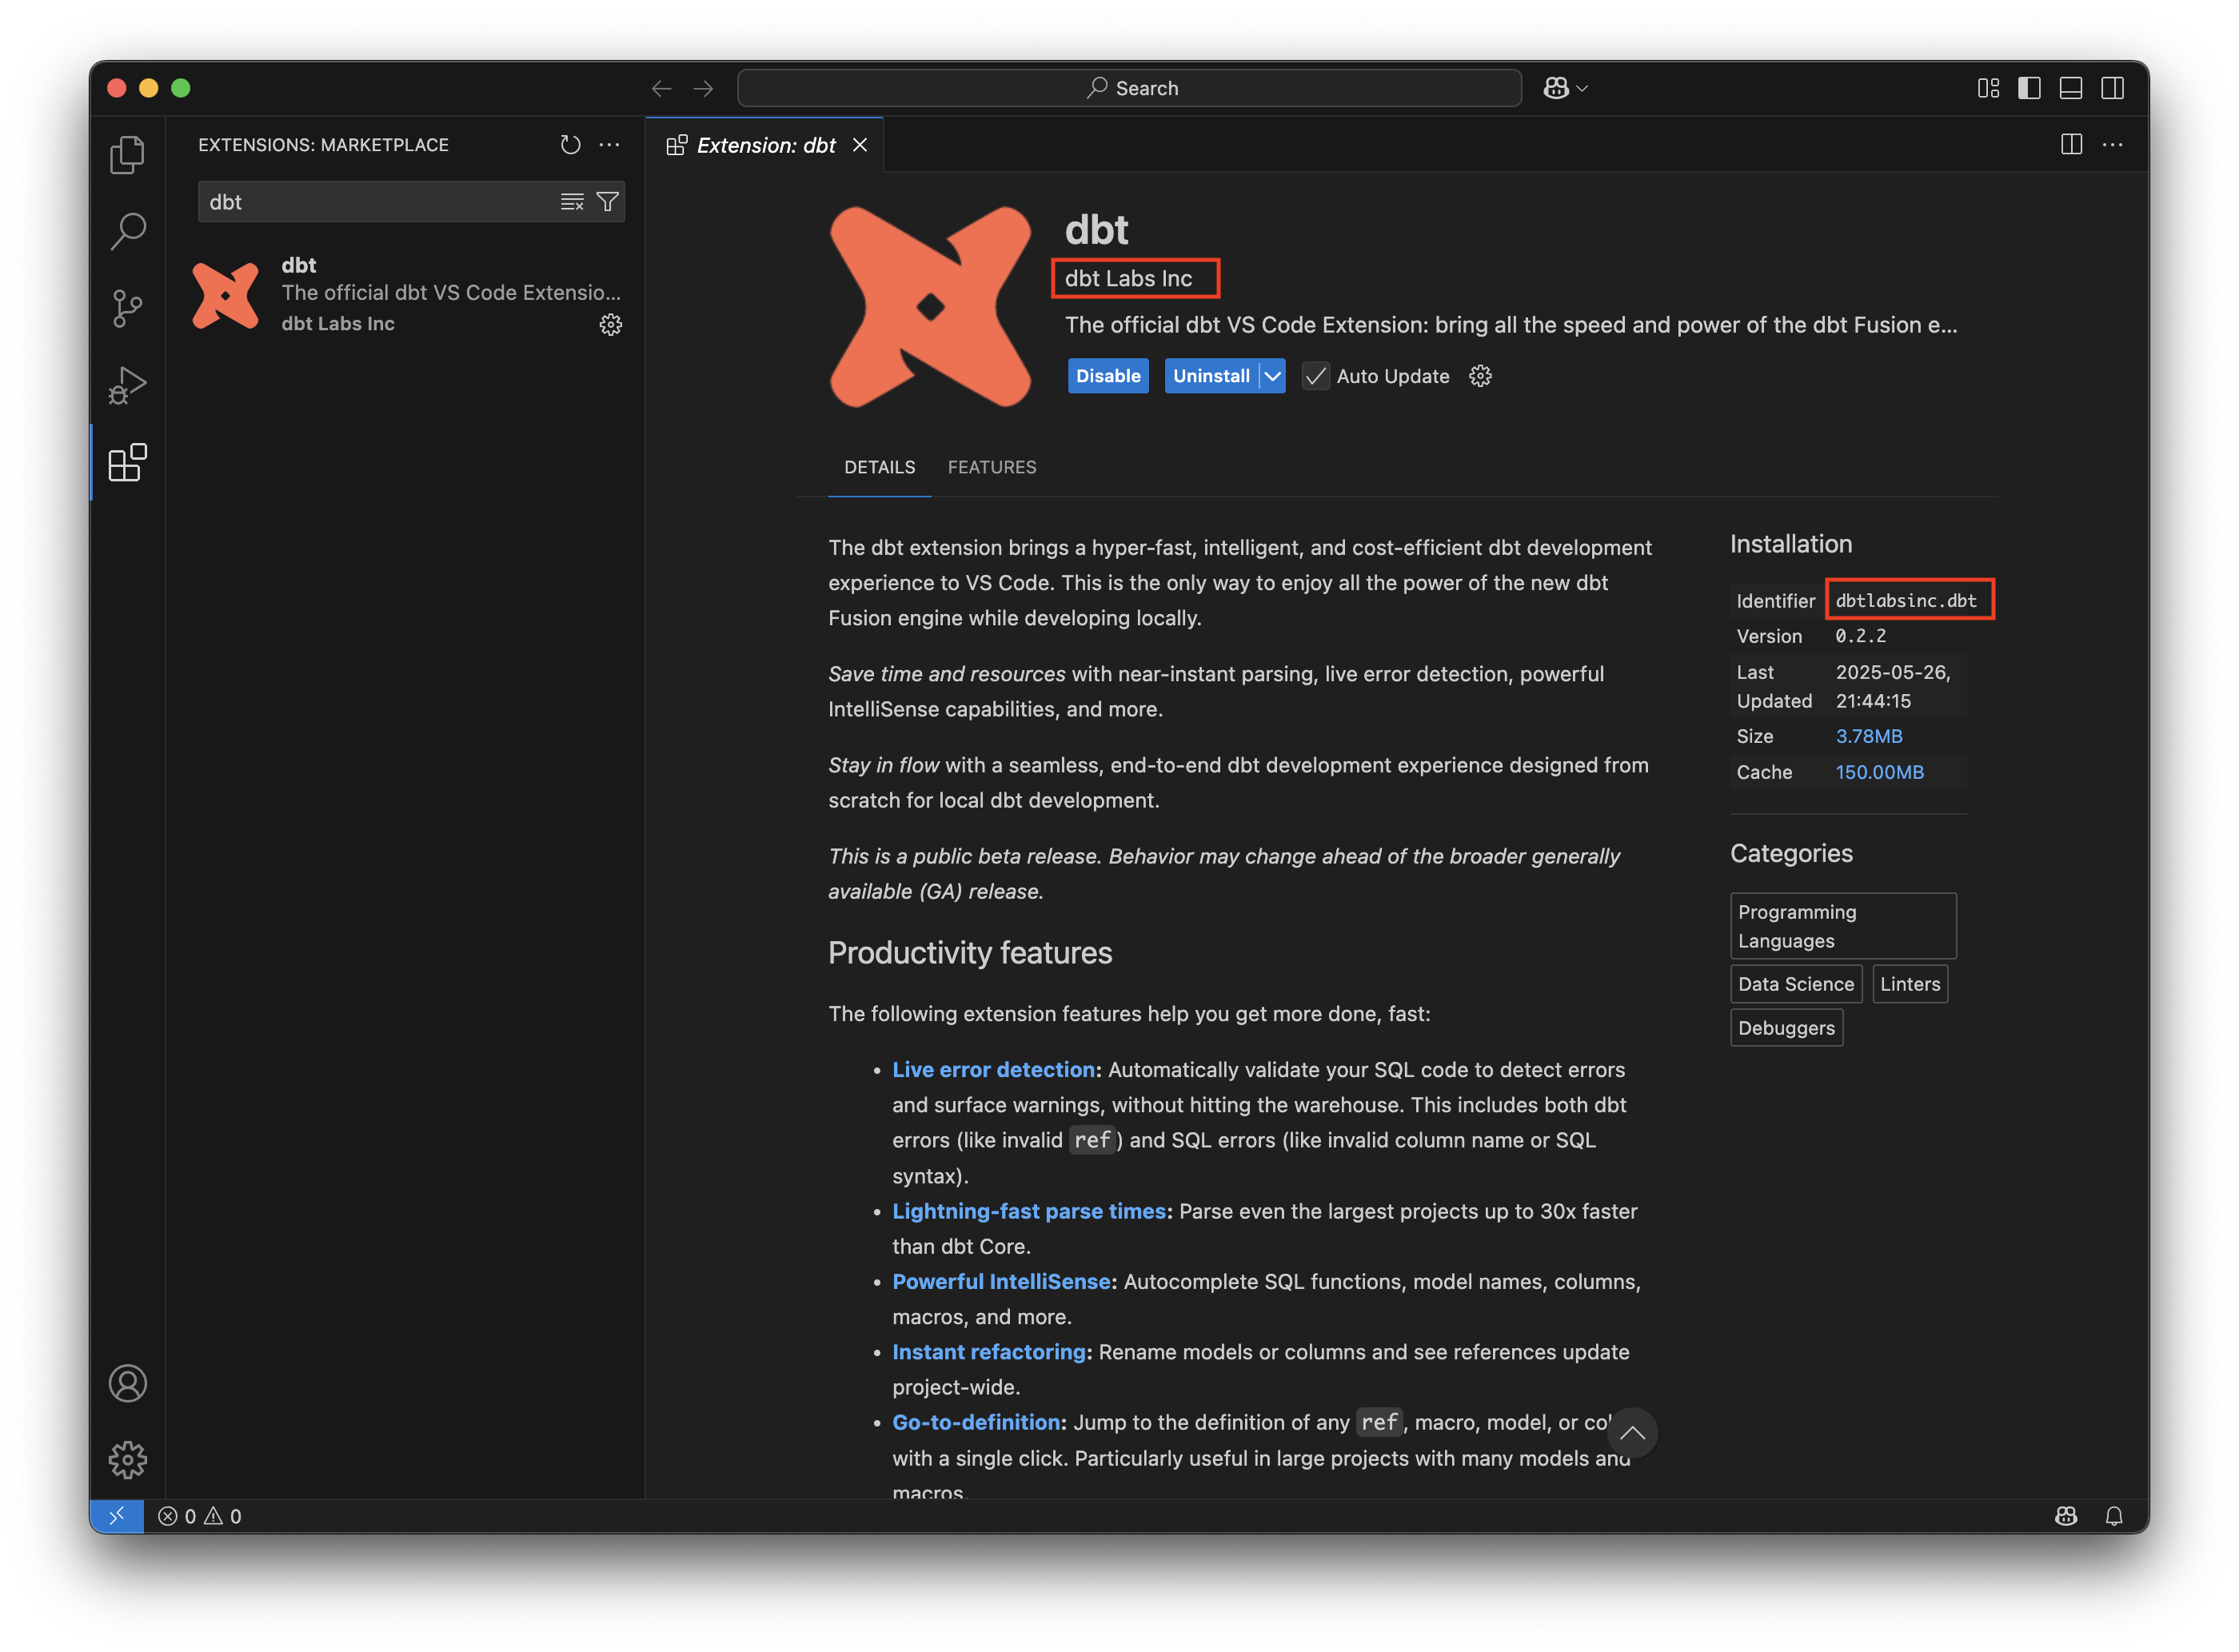
- Navigate to the Extensions tab of your editor and search for
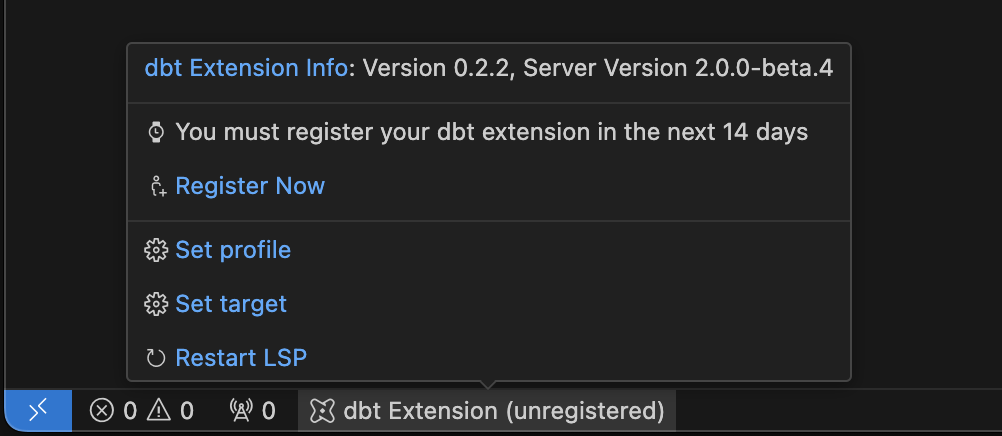
dbt. Locate the extension from the publisherdbtLabsIncordbt Labs Inc. Click Install. - Open a dbt project in your VS Code environment if you haven't already. Make sure it is added to your current workspace. If you see a dbt Extension label in your editor's status bar, then the extension has installed successfully. You can hover over this dbt Extension label to see diagnostic information about the extension.
- Once the dbt extension is activated, it will automatically begin downloading the correct dbt Language Server (LSP) for your operating system.
- If the dbt Fusion engine is not already installed on your machine, the extension will prompt you to download and install it. Follow the steps shown in the notification to complete the installation or install it manually from the command line.
- Run the VS Code extension upgrade tool to ensure your dbt project is Fusion ready and help you fix any errors and deprecations.
- (Optional) If you're new to the extension or VS Code/Cursor, you can set your local environment to mirror your dbt platform environment and set any environment variables locally to use the VS Code extension features.
You're all set up with the dbt extension! The next steps are:
- Follow the getting started section to begin the terminal onboarding workflow and configure your set up. If you encounter any parsing errors, you can also run the
dbt-autofixtool to resolve them. - Register the extension with your email address or dbt platform account to continue using it beyond the trial period.
- Review the limitations and unsupported features if you haven't already.
Getting started
Once the dbt Fusion Engine and dbt VS Code extension have been installed in your environment, the dbt logo will appear on the sidebar. From here, you can access workflows to help you get started, offers information about the extension and your dbt project, and provides helpful links to guide you. For more information, see the the dbt extension menu documentation.
You can get started with the extension a couple of ways:
- Running
dbtf initto use the terminal onboarding, - Opening dbt: Register dbt extension in the command palette,
- Using the Get started button in the extension menu.
The following steps explain how to get started using the Get started button in the extension menu:
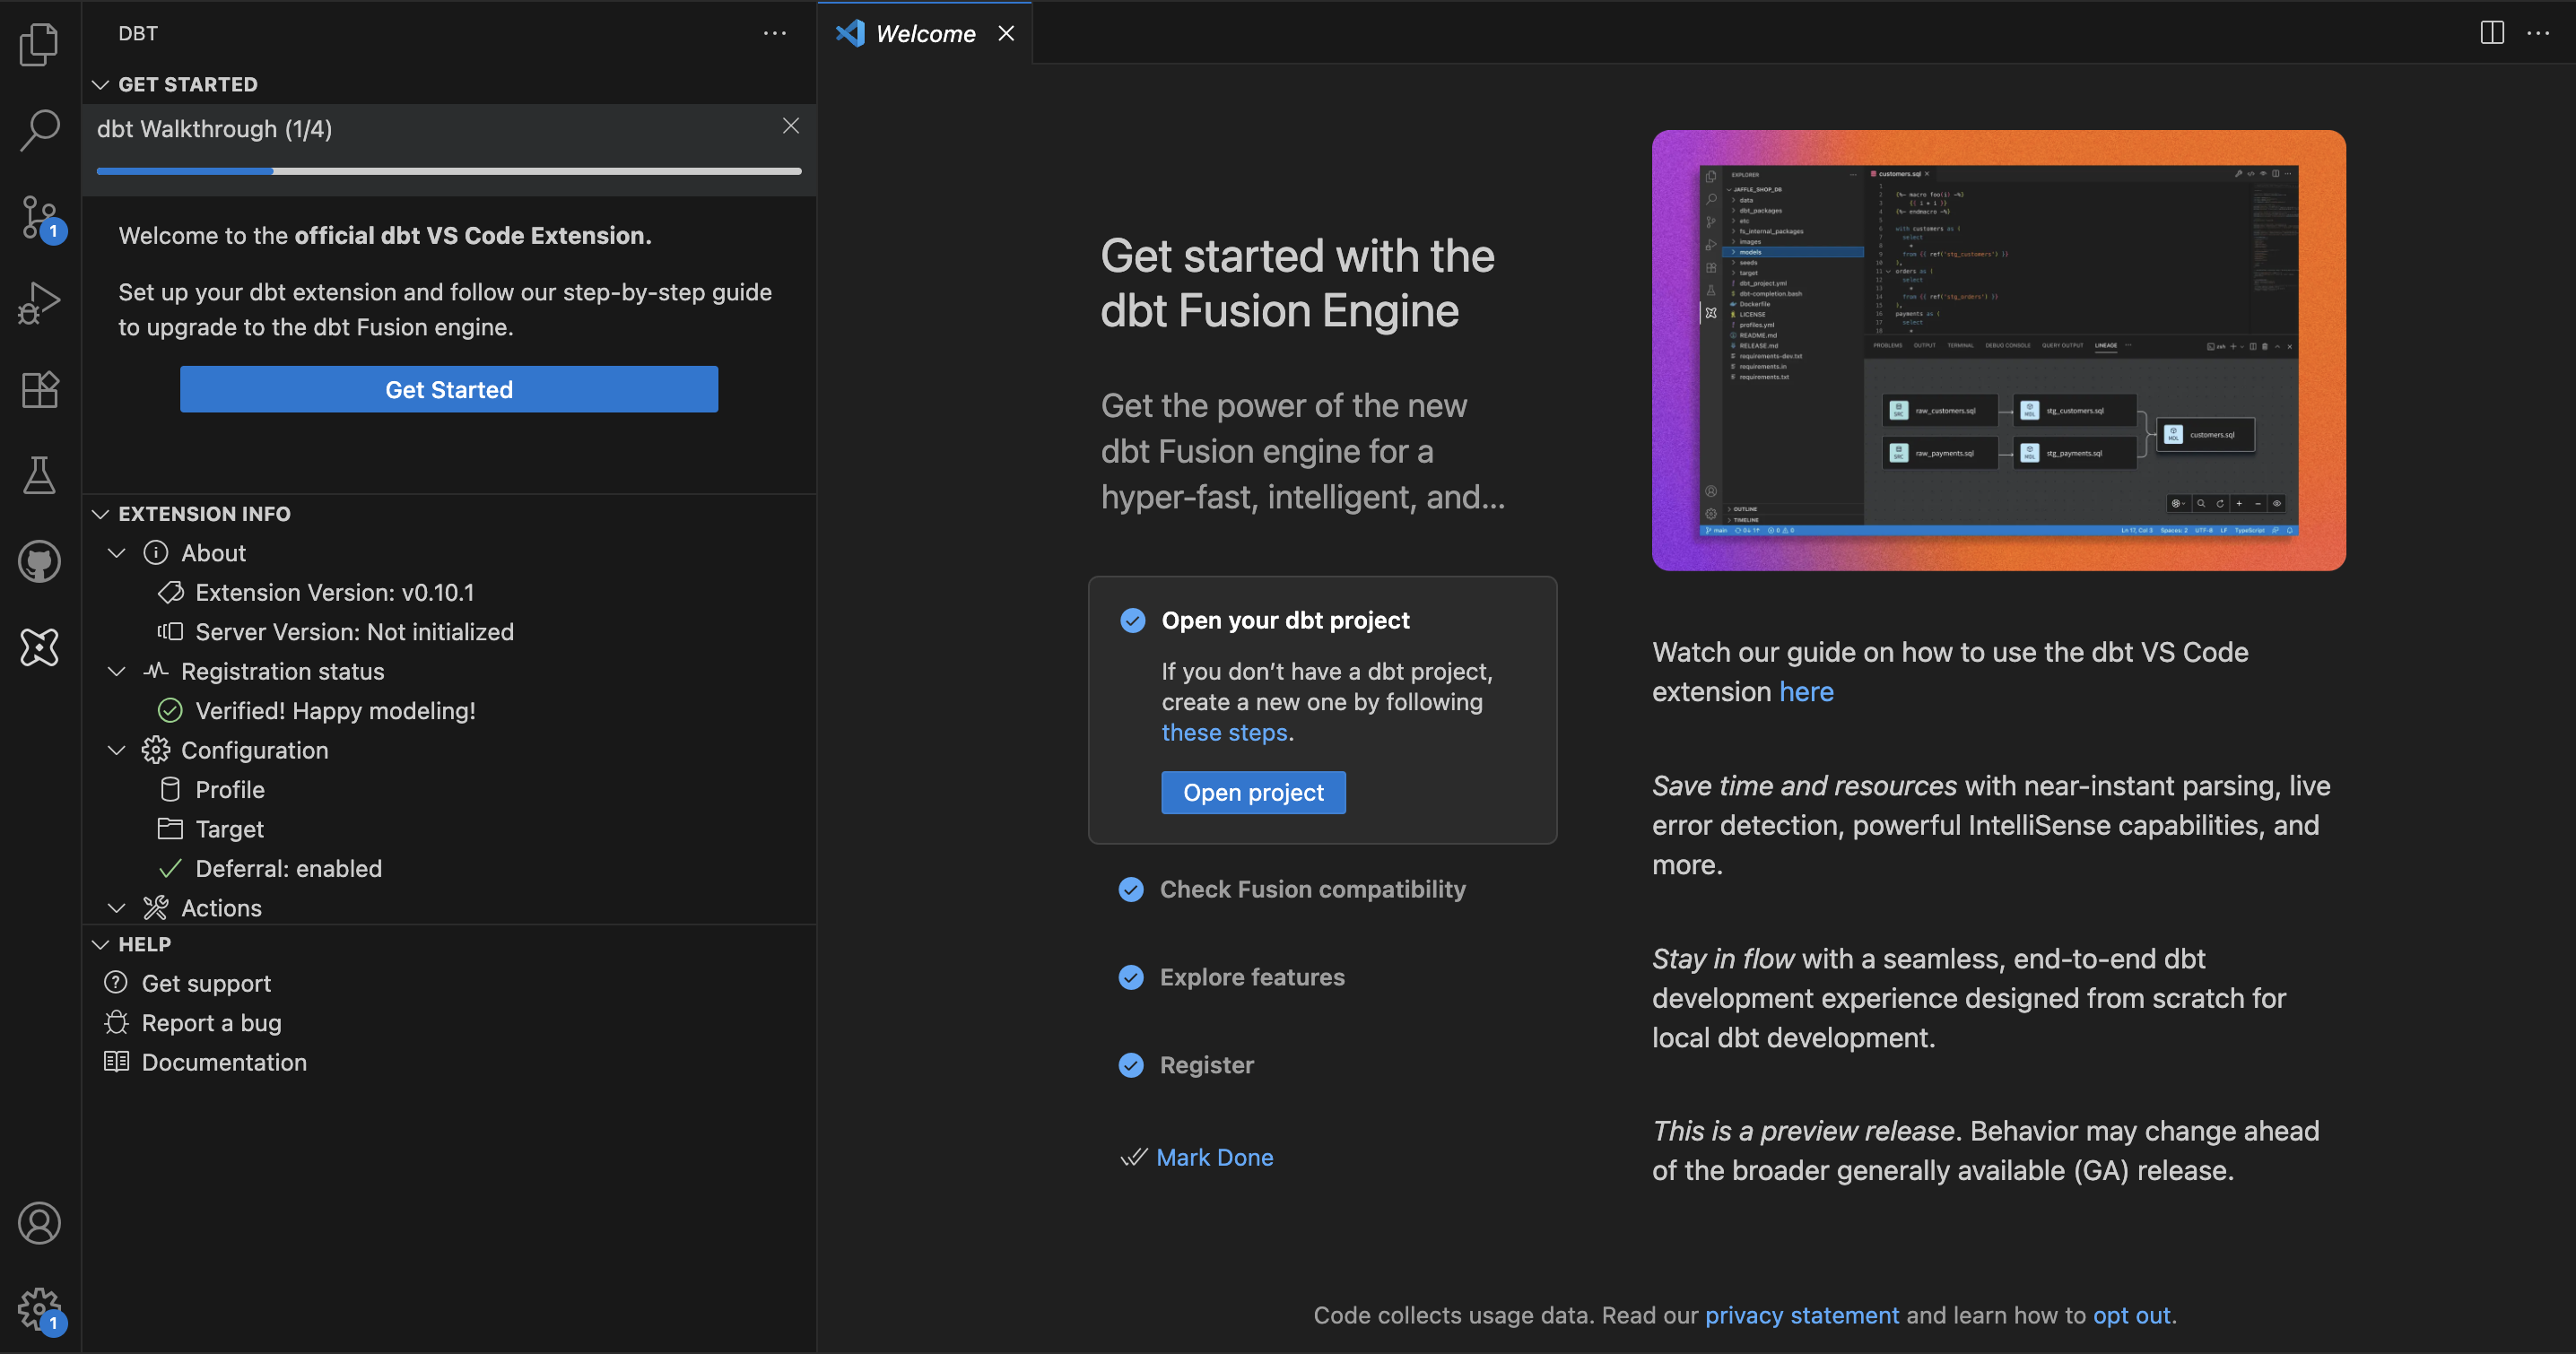
- From the sidebar menu, click the dbt logo to open the menu and expand the Get started section.
- Click the dbt Walkthrough status bar to view the welcome screen.
- Click through the items to get started with the extension:
- Open your dbt project: Launches file explorer so you can select the dbt project you want to open with Fusion.
- Check Fusion compatibility: Runs the Fusion upgrade workflows to bring your project up-to-date. If you encounter any parsing errors, you can also run the
dbt-autofixtool to resolve them. - Explore features: Opens the documentation so you can learn more about all the extension has to offer.
- Register: Launches the registration workflow so you can continue to use the extension beyond the trial period.
Upgrade to Fusion
If you are already running the dbt Fusion Engine, you must be on version 2.0.0-beta.66 or higher to use the upgrade tool.
The dbt extension provides a built-in upgrade tool to walk you through the process of configuring Fusion and updating your dbt project to support all of its features and fix any deprecated code. To start the process:
-
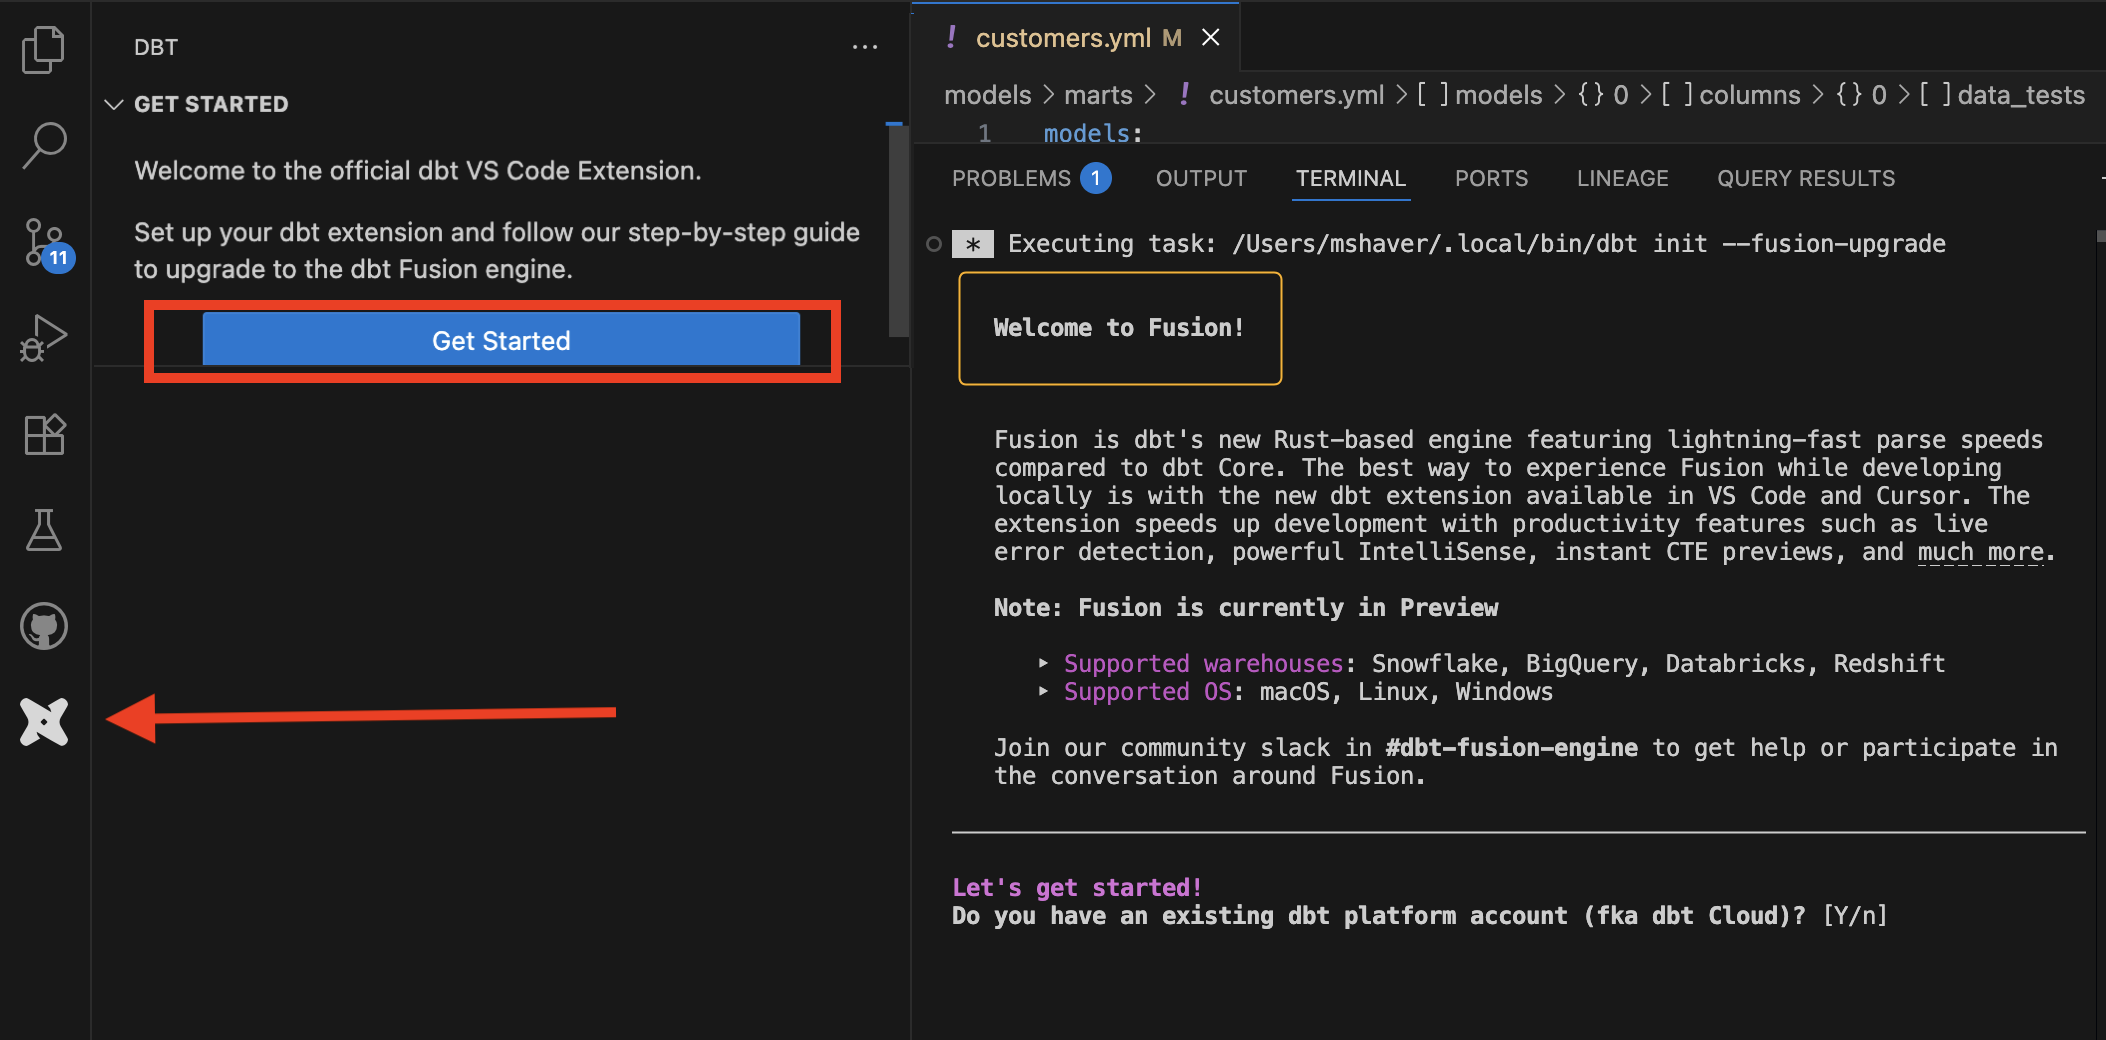
From the VS Code sidebar menu, click the dbt logo.
-
In the resulting pane, open the Get started section and click the Get started button.
You can also manually start this process by opening a CLI window and running:
dbt init --fusion-upgrade
This will start the upgrade tool and guide you through the Fusion upgrade with a series of prompts:
-
Do you have an existing dbt platform account?: If you answer
Y, you will be given instructions for downloading your dbt platform profile to register the extension. AnNanswer will skip to the next step. -
Ready to run a dbtf init? (If there is no
profiles.ymlfile present): You will go through the dbt configuration processes, including connecting to your data warehouse. -
Ready to run a dbtf debug? (If there is an existing
profiles.ymlfile): Validates that your project is configured correctly and can connect to your data warehouse. -
Ready to run a dbtf parse?: Your dbt project will be parsed to check for compatibility with Fusion.
- If any issues are encountered during the parsing, you'll be given the option to run the dbt-autofix tool to resolve the errors. If you opt to not run the tool during the upgrade processes, you can always run it later or manually fix any errors. However, the upgrade tool cannot continue until the errors are resolved.
AI Agents
There are cases where dbt-autofix may not resolve all errors and requires manual intervention. For those cases, the dbt-autofix tool provides an AI Agents.md file to enable AI agents to help with migration work after dbt-autofix has completed its part.
- If any issues are encountered during the parsing, you'll be given the option to run the dbt-autofix tool to resolve the errors. If you opt to not run the tool during the upgrade processes, you can always run it later or manually fix any errors. However, the upgrade tool cannot continue until the errors are resolved.
-
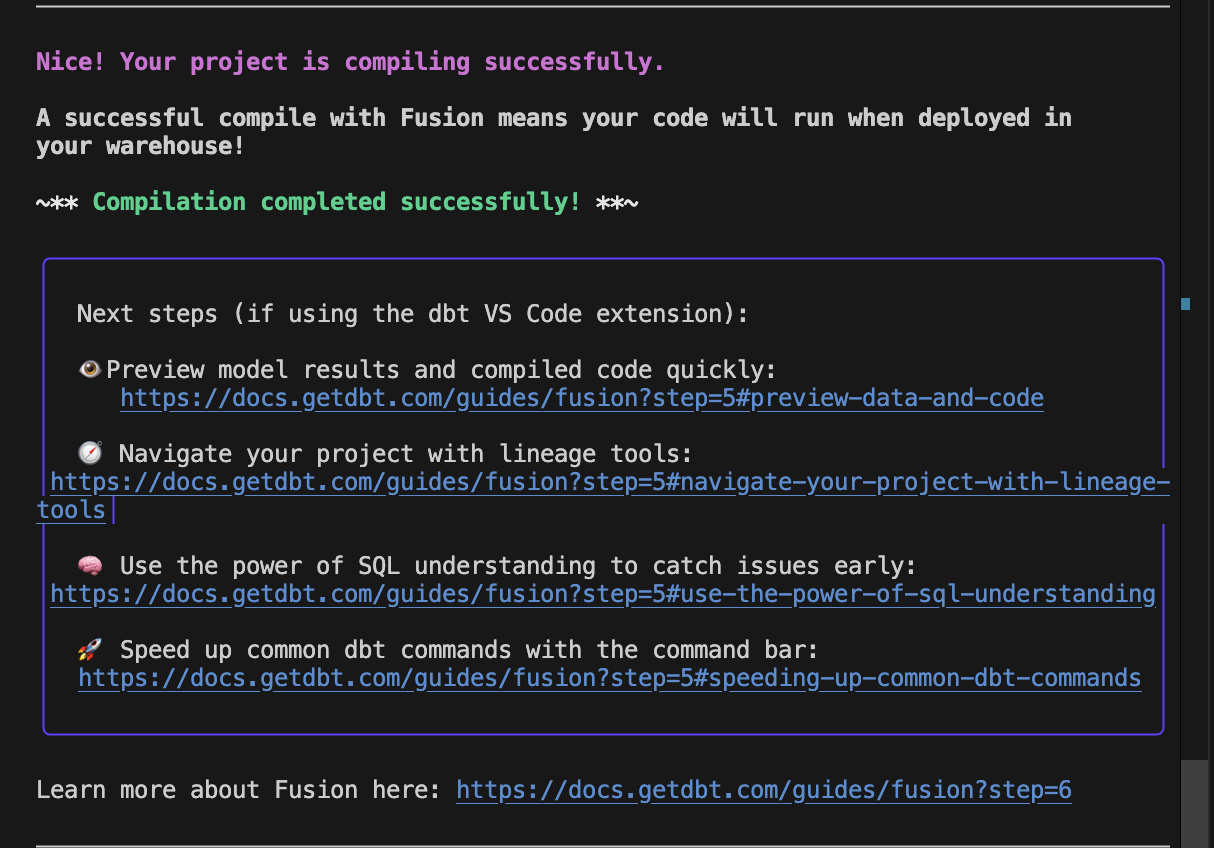
Ready to run a ‘dbtf compile -static-analysis off’? (Only runs once the parse passes): Compiles your project without any static analysis, mimicking dbt Core. This compile only renders Jinja into SQL, so Fusion's advanced SQL comprehension is temporarily disabled.
-
Ready to run a ‘dbtf compile’?: Compiles your project with full Fusion static analysis. It checks that your SQL code is valid in the context of your warehouse's tables and columns.
Once the upgrade is completed, you're ready to dive into all the features that the dbt Fusion Engine has to offer!
Register the extension
After downloading the extension and installing the dbt Fusion Engine, make sure you’re running the latest version of the dbt VS Code extension and restart VS Code, then register the extension within 14 days of installing (or re-installing) it.
Key points:
- The extension is free for organizations for up to 15 users (see the acceptable use policy).
- Registration links your editor to a dbt account so you can keep using the extension beyond the grace period.
- This does not require a dbt platform project — just a dbt account.
- If a valid
dbt_cloud.ymlfile exists on your machine, the extension will automatically use it and skip login. - If you already have a dbt account (even from years ago), you will be directed into an OAuth sign-in flow.
Choose your registration path
Your dbt VS Code extension registration path depends on your situation. Select the one that applies to you:
- New to dbt and never created a dbt account? → Use First-time registration.
- Have an existing dbt account and can sign in? → Use Existing dbt account.
- Email already exists or can’t sign in? (locked, forgot password) → Use Recover your login.
- Can't sign in or your organization uses a non-default region (
eu1,us2) → Use Register withdbt_cloud.yml.
First-time registration
Use this if you've never created a dbt account before.
- Click the registration prompt or open the command palette (Ctrl + Shift + P (Windows/Linux) or Cmd + Shift + P (macOS)) and type: dbt: Register dbt extension.
- In the browser registration form, enter your name and email, then click Continue.
- Check your inbox for a verification email and click the verification link.
- After verification, return to the browser flow to complete sign‑in.
- You'll return to the editor and see Registered.
- Continue with the Get started onboarding workflow and get your dbt project up and running.
Note: You do not need a dbt platform project to register; this only creates your dbt account.
Existing account sign-in
Use this if you have an existing dbt account — including older or inactive accounts. dbt automatically detects your account and dbt_cloud.yml file if it exists (no file download needed). Use this to easily work across machines.
- Update the VS Code extension to the latest version and restart your editor before beginning the registration process.
- Click the registration prompt or open the command palette and type: dbt: Register dbt extension.
- In the browser registration form, select Sign in at the bottom of the form.
- Enter your email address associated with your dbt account and click Continue. If you don't remember your password, see Recover your login for help.
- You'll then have the option to select your existing dbt account.
- Select the account you want to use and click Continue.
- You should see a page confirming your successful registration. Close the tab and go back to your editor to continue the registration.
When you might still need a dbt_cloud.yml:
- You want a file-based credential for automations.
- You're on the free Developer plan and your workflow needs a local credential file for defer.
- Your region requires it (for example, regions like
eu1orus2).
Recover your login
Choose this path if the registration form tells you your email already exists but you don't remember your password or your account is locked.
To reset your password and sign in through the OAuth flow:
- On the sign-in screen, click Forgot password.
- Enter the email associated with your dbt account.
- Check your inbox and reset your password.
- Return to the sign in screen in the browser and complete the sign-in process.
- If you've signed in, you will then have the option to select your existing dbt account.
- Select the account you want to use and click Continue.
- You should see a page confirming your successful registration. Close the tab and go back to your editor to continue the registration.
If you still can't sign in:
- Your account may be locked. Contact dbt Support to unlock.
- After unlocking, continue with the registration flow as described in Sign in with your existing dbt account.
Register with dbt_cloud.yml
Use this if you can't sign in to your dbt account, your org uses a non-default region (eu1, us2), or your workflow requires a credential file.
-
Log in to dbt platform and open Account settings → VS Code extension.
-
In the Set up your credentials section, click Download credentials to get
dbt_cloud.ymlfile. -
Move the file into your dbt directory:
- macOS/Linux:
~/.dbt/dbt_cloud.yml - Windows:
C:\Users\[username]\.dbt\
For help creating/moving the
.dbtdirectory, see this FAQ. - macOS/Linux:
-
Return to the VS Code editor, open the command palette and type: dbt: Register dbt extension.
-
The extension will detect the credential file and you can continue with the registration flow.
Behavior details:
- If the
dbt_cloud.ymlfile exists, it takes precedence over any login flow and the extension uses it automatically. - If the file is missing, you'll be prompted to sign in or add the file.
Configure environment variables locally
This section is optional. You only need to configure environment variables locally if your dbt project uses environment variables that are already configured in the dbt platform.
If your dbt project uses environment variables, you can configure them to use the extension's features. See the Configure environment variables page for more information.
Troubleshooting
If you run into any issues, check out the troubleshooting section below.
More information about Fusion
Fusion marks a significant update to dbt. While many of the workflows you've grown accustomed to remain unchanged, there are a lot of new ideas, and a lot of old ones going away. The following is a list of the full scope of our current release of the Fusion engine, including implementation, installation, deprecations, and limitations:
- About the dbt Fusion engine
- About the dbt extension
- New concepts in Fusion
- Supported features matrix
- Installing Fusion CLI
- Installing VS Code extension
- Fusion release track
- Quickstart for Fusion
- Upgrade guide
- Fusion licensing
Was this page helpful?
This site is protected by reCAPTCHA and the Google Privacy Policy and Terms of Service apply.
